Creating professional stickers with a Cricut machine can elevate your crafting game significantly. You’ll need to focus on choosing the right materials and designing with precision. Once you’ve mastered the cutting and weeding process, you’ll find that finishing touches can make all the difference. Ready to explore the steps that lead to stunning, durable stickers? Let’s get started.
Selecting the Right Materials for Your Stickers
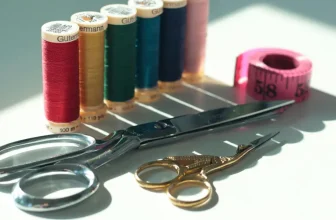
When you’re ready to create professional stickers with your Cricut machine, selecting the right materials is crucial.
Start by choosing high-quality vinyl, which is durable and resistant to water and sunlight. For a matte finish, opt for permanent adhesive vinyl; for a glossy look, go with glossy vinyl. If you want temporary stickers, removable vinyl is your best bet.
Don’t forget about transfer tape, which makes applying your designs easier and cleaner.
Consider using sticker paper for a more paper-like feel, especially for indoor use. Always check compatibility with your Cricut machine to ensure smooth cutting.
Designing Stickers With Cricut Software
To create eye-catching stickers, you’ll want to dive into Cricut Design Space, where you can unleash your creativity.
Start by selecting a canvas size that matches your sticker dimensions. Use the toolbar to choose shapes, text, or images from the library or upload your own designs. Experiment with colors and patterns to make your stickers pop.
Adjust the size and orientation to fit your vision, and don’t forget to layer elements for added depth. If you’re using text, explore various fonts and styles to find the perfect match.
Once you’re satisfied with your design, save your project. Remember, the key is to be bold and playful—don’t shy away from trying new ideas until you find the perfect design!
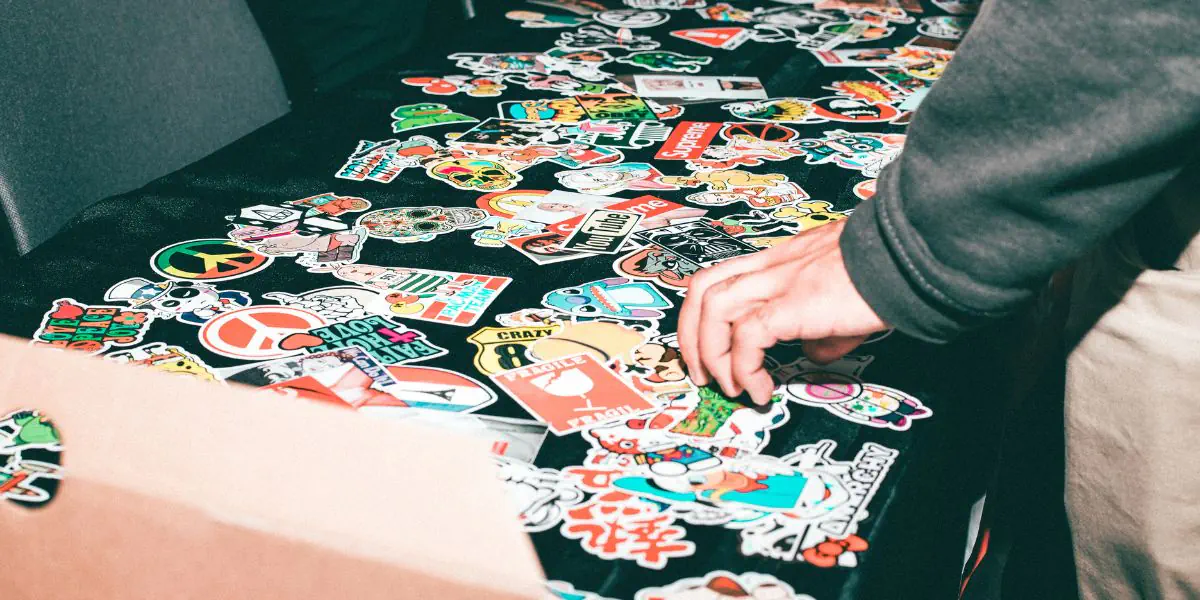
Cutting and Weeding Your Stickers
Now it’s time to cut and weed your stickers, turning your creative designs into tangible art. First, load your chosen vinyl or sticker paper into your Cricut machine, ensuring it’s aligned properly.
Select the correct material settings on your machine, then hit “Go” to start the cutting process. Once the cutting is complete, carefully remove the excess material from around your designs.
Next, it’s time to weed your stickers. Use a weeding tool to gently lift away the unwanted vinyl, leaving only your designs intact.
Take your time with this step, as precision is key for a professional finish. Make sure to check for any tiny pieces that might need removing. Your stickers are almost ready to shine!
Finishing Touches for a Professional Look
Adding the finishing touches to your stickers can elevate them to a truly professional level. Start by applying a protective laminate over your designs. This not only enhances durability but also gives a glossy finish that catches the eye.
Next, consider using a paper trimmer to ensure clean, straight edges. If you want to add dimension, try layering your stickers with foam tape for a 3D effect.
Additionally, packaging matters; using clear bags or custom backing cards can make your stickers stand out.
Finally, always check for any stray adhesive or imperfections before showcasing your work. With these finishing touches, your stickers will look polished and ready for sale or gifting!
Conclusion
Creating professional stickers with your Cricut machine is both fun and rewarding. By selecting the right materials, designing meticulously, and carefully cutting and weeding, you can achieve stunning results. Don’t forget those finishing touches like protective laminate and thoughtful packaging to elevate your stickers further. With practice, you’ll refine your skills and produce eye-catching designs that impress. So go ahead, unleash your creativity, and start making stickers that truly reflect your style!
Trending Products