Getting started with your Cricut machine can feel overwhelming, but it doesn’t have to be. You’ll unpack your machine, connect it to your device, and explore the Design Space app. Choosing the right materials is crucial for your project, whether you’re working with vinyl or cardstock. Once you grasp the basics, you’ll be ready to create something unique. But where should you begin? Let’s break it down step by step.
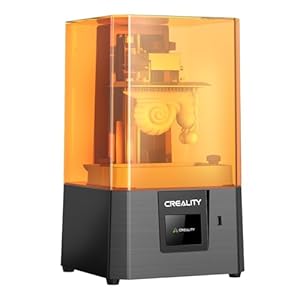
Setting Up Your Cricut Machine
Setting up your Cricut machine is the first step toward unleashing your creativity. Start by unboxing the machine and ensuring you have all the components: power cord, cutting mat, and tools.
Next, plug it in and turn it on. Follow the prompts on the machine’s screen to connect it to your computer or mobile device via Bluetooth or USB. Download the Cricut Design Space app, which you’ll use for designing your projects.
Once installed, create an account or sign in. You’ll need to calibrate your machine for precise cuts, so follow the on-screen instructions.
Finally, load your cutting mat with material, and you’re ready to explore endless crafting possibilities! Getting everything set up properly will make your projects smoother.
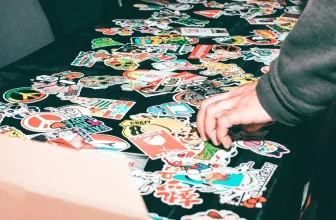
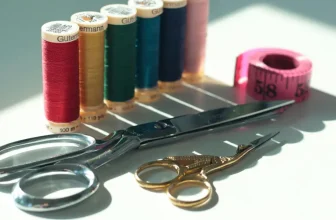
Choosing the Right Materials
When you’re ready to dive into your Cricut projects, choosing the right materials can make all the difference in your results.
Start by considering what you want to create. For vinyl projects, opt for adhesive vinyl for surfaces like mugs or walls, while heat transfer vinyl works best for fabrics. If you’re making cards or scrapbooks, cardstock is a solid choice.
Don’t forget about specialty materials like glitter paper or iron-on materials for unique effects. Always check your Cricut machine’s compatibility with the materials you choose.
Experimenting with various textures and finishes can also help you discover your favorites. Remember, selecting the right material not only enhances your project but also ensures a smooth crafting experience.
Exploring Design Space
Design Space is your creative playground for every Cricut project. When you open the app, you’ll see an array of templates, images, and fonts to spark your creativity.
You can start by choosing a pre-made design or creating something unique from scratch. Use the search bar to find specific images or browse categories to discover inspiration.
Don’t forget to explore the tools available, like resizing, rotating, and layering your designs. With just a few clicks, you can customize colors and fonts to match your vision.
Save your favorite projects for easy access later, and remember to take advantage of the tutorials offered within the app. Dive in and let your imagination run wild!
Completing Your First Project
As you embark on your Cricut journey, completing your first project can be both exciting and a bit daunting.
To start, gather all your materials—vinyl, cardstock, or whatever you’ve chosen for your project. Make sure your Cricut machine is set up and connected to Design Space.
Follow the design you created or selected, and double-check the dimensions to ensure a perfect fit. Load your material into the machine, and hit the “Go” button.
Once the cutting is finished, carefully weed out excess material and apply transfer tape if you’re using vinyl.
Finally, adhere your design to the surface of your choice. Step back, admire your work, and celebrate this accomplishment.
You’ve just completed your first Cricut project!
Conclusion
Now that you’ve set up your Cricut machine and explored Design Space, you’re ready to dive into your first project! Remember to choose the right materials for what you’re creating and don’t hesitate to refer to tutorials for guidance. Crafting with Cricut is all about creativity and fun, so embrace the process and let your imagination soar. You’ll soon be crafting unique creations that showcase your personal style. Happy crafting!
Trending Products