If you’re new to resin casting, figuring out what to buy and where to start can feel overwhelming. You’ll need essential supplies like high-quality epoxy resin, molds, and safety gear. It’s crucial to choose the right resin for your projects, especially as a beginner. Once you have everything ready, there’s a straightforward process to follow. But before you dive in, let’s explore how to ensure your first cast is a success.
Essential Supplies for Resin Casting
To kick off your resin casting journey, gathering the essential supplies is crucial. First, you’ll need high-quality epoxy resin and hardener, which are the foundation of your projects.
Don’t forget mixing cups and stir sticks for accurate measurements. A scale can help ensure you mix the right ratios.
You’ll also want silicone molds in various shapes to create your desired items. Safety gear, like gloves and a mask, protects you from any fumes.
To enhance your creations, consider pigments, glitters, and other additives. Finally, a heat gun or torch can help eliminate air bubbles and achieve a smooth finish.
With these supplies, you’re well on your way to creating stunning resin pieces!
Choosing the Right Resin
With your supplies gathered, it’s time to focus on selecting the right resin for your projects.
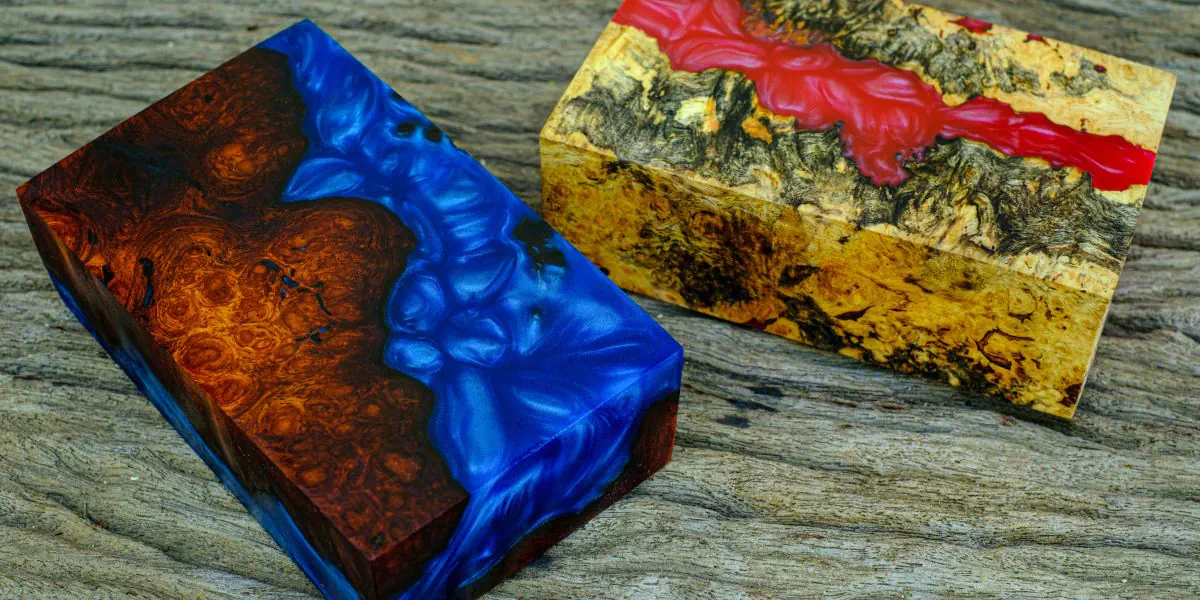
There are two main types: epoxy and polyester. Epoxy resin is popular for its clarity, durability, and low odor, making it ideal for beginners. It cures slowly, allowing for detailed work, but can be more expensive.
Polyester resin, on the other hand, cures faster and is generally cheaper, but it can emit strong fumes and may yellow over time.
Consider your project’s requirements—if you want a crystal-clear finish or need flexibility, epoxy might be the better choice.
Always check the manufacturer’s instructions regarding mixing ratios and curing times. Choosing the right resin sets the foundation for your successful casting experience.
Step-by-Step Guide to Your First Cast
As you prepare to make your first resin cast, it’s essential to follow a clear process that will help ensure success.
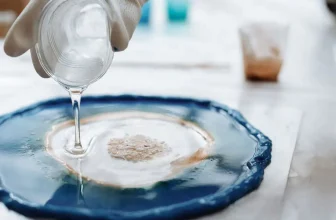
Start by gathering your materials: resin, hardener, mixing cups, stir sticks, and a mold. Measure equal parts of resin and hardener according to the manufacturer’s instructions. Mix thoroughly for about three minutes, ensuring there are no streaks.
Once mixed, pour the resin slowly into your mold to minimize bubbles. If you notice any, you can use a toothpick to pop them gently.
Allow the resin to cure as specified, usually 24 hours. After curing, carefully remove your cast from the mold.
Your first resin piece is ready! Enjoy the satisfaction of your creation and learn for your next project.
Tips for Successful Resin Projects
Now that you’ve successfully completed your first resin cast, you may want to enhance your skills for future projects.
Start by ensuring your workspace is clean and well-ventilated. Measure your resin and hardener accurately; even slight discrepancies can affect curing. Mix slowly to minimize bubbles, and consider using a vacuum chamber to remove any trapped air.
When adding color or inclusions, do it gradually—too much can impact clarity. Use silicone molds for easier release, and always do a test pour if you’re unsure.
Lastly, patience is key; allow your resin to cure fully before demolding to avoid mishaps. With these tips, you’ll boost your confidence and create stunning resin pieces every time!
Conclusion
Now that you know the essentials for resin casting, it’s time to dive in and start creating! By gathering the right supplies, choosing quality resin, and following the step-by-step guide, you’ll set yourself up for success. Don’t forget to take your time and enjoy the process—experimentation is part of the fun! With a little practice, you’ll be crafting beautiful pieces in no time. Happy casting!
Trending Products